Rapid Prototyping: What to Expect during an Iterative Product Development Process
How can I get a prototype made fast and cheap? Who should be involved in the iterative prototyping process? If you’re an entrepreneur asking yourself these questions, then allow mHUB to shed some light on rapid prototyping and the iterative product development process. Let’s start with the stages of product development.
The Five Stages of Product Development
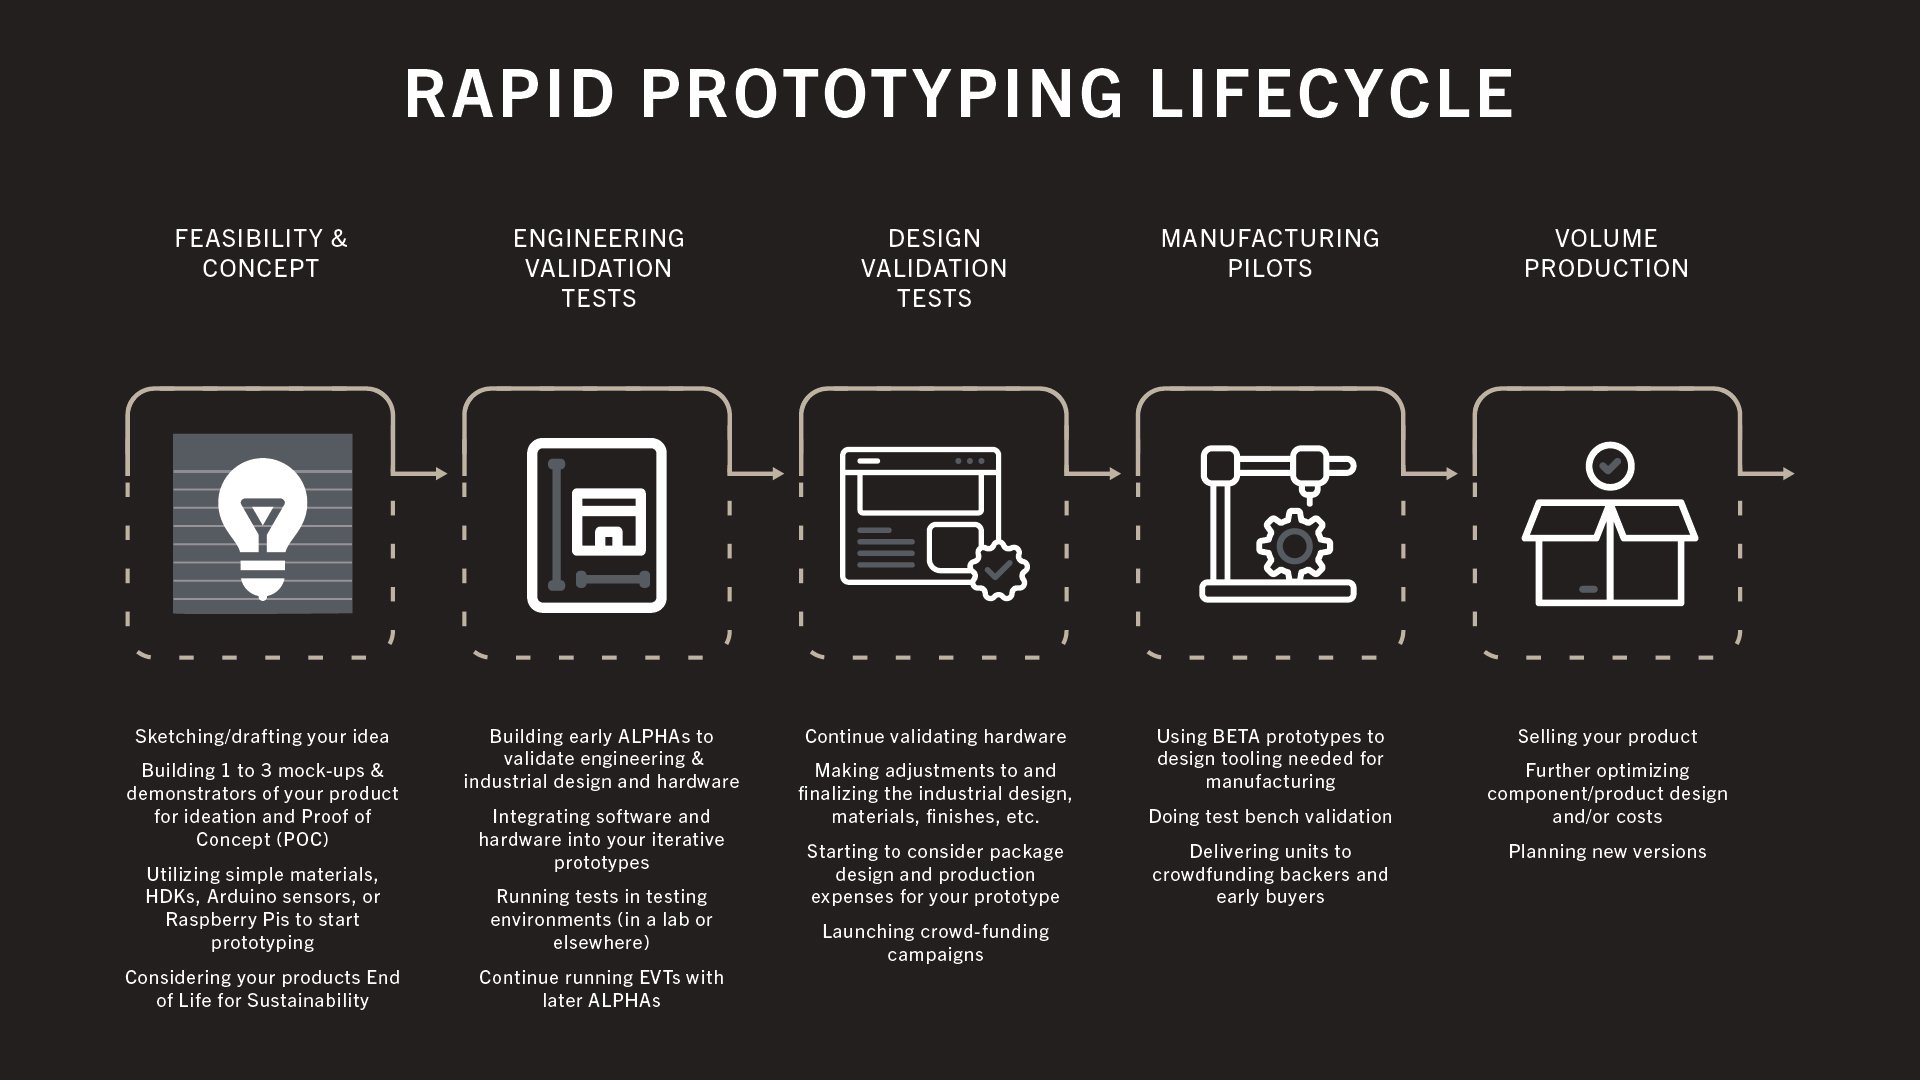
Stage 1. Concepting, Initial Prototyping, & Product Feasibility
Hardtech entrepreneurs must start by drafting the concept of their product. This means taking the hand-drawn notes (sometimes off the back of a napkin) and sketching out the idea or design. Concepts can be created in drafting programs or with 3D modeling software to generate renderings. Once you have a visual representation of your product, it’s time to start working with physical materials to make an initial prototype and build proof of concept. Proof of concept means that you generate evidence that a design concept is feasible.
When working your way through the product feasibility of your concept, you can use cardboard, paper, and materials that are relatively inexpensive and easily accessible. The goal is to build a mock-up of how the product is thought to function. For example, a member of the mHUB mPOWER program used some two-by-fours they had laying around to build their initial product. For those wanting to implement chips and microcontrollers into their earliest demonstrators, hardware developer kits (HDKs), Arduino sensors, and Raspberry Pi components can be utilized and are typically inexpensive and accessible.
Building initial prototypes to understand product feasibility will help you move through ideation and the iterative process of product development. You may have to refine your initial concept several times before performing engineering and validation tests.
How do I test and validate my prototype?
It is critical to test your product for performance, quality, safety, and in some cases, regulatory compliance. We’ll continue to discuss the different types of tests that you will perform as you move through your product development journey, and it is recommended that you read this article on product testing. Don’t forget to download the Test Plan template, and make sure you understand the 'minimum viable product' mindset as you progress through engineering and demand validation tests.
Stage 2. Engineering Validation Tests
Engineering validation tests help you prove that your product, considered an “early ALPHA”, is really going to work. At this point, your prototyping involves integrating software into your hardware. You’re running tests in a lab environment. You’re uncovering and identifying the design fixes that might be needed so you can prototype the next iteration of your device. You continue to perform engineering validation tests and evolve the engineered design of your product. As you move into developing late ALPHA prototypes, EVTs will provide insights that will guide your production intent design (i.e. what kinds of equipment or tooling you will need to produce your product). After engineering validation tests have been done, then you move on to the next stage – design validation tests (DVTs).
Stage 3. Design Validation Tests
Design validation tests help you confirm that the minimum viable product looks and works the way you want. It’s time to run DVTs on your prototype when you’re able to incorporate all the design elements (the final form and package) and prove that the hardtech actually works the way it’s designed to function for the end user. During the DVTs, you’re finalizing form factor – the size, shape and other physical specifications of components in your product. This means the inside, outside, and throughout your product. During this process, you might make design adjustments as you work to finalize the industrial design and validate the hardware. You will likely run extensive user tests as you determine which design adjustments to make. You might start working on the boxing and package design. Running later DVTs, you might simultaneously start running crowd-funding campaigns on platforms like Kickstarter. After conducting design validation tests, then you move to the next stage of product development – to a manufactured pilot.
Stage 4. Manufacturing Pilots
At the point where you’re moving into a manufacturing pilot, your BETA prototype will be made in the actual materials that your final product will be constructed. It’s time to perform Production Validation Tests (PVTs) with your hardtech to make sure that manufacturing times and costs are adequately accounted for. These initial small-batch production runs help confirm that your product can be manufactured within your cost projections, and it also helps uncover any issues that might arise (quality control). Manufacturing pilots will enable you to do test bench validation, complete the tooling design and fabrication necessities, and provide you with prototypes that you can share with crowdfunding backers or sell and deliver to early buyers.
Stage 5. Volume Production
Volume production is the manufacturing of a thousand or more units specifically for product sales. While you’re moving into the volume production phase, don’t forget to think about / plan for your products End of Life (EOL) – which is what to do when it’s time to pull the product from the marketplace. Will you retire it altogether? Will you recycle it? Will you replace it with a newer, better version? During the volume production phase, think about further component and cost optimization as well as potential new and improved versions of your product. Take the feedback from your current customers to iterate on your product design and develop an even better version of your hardtech. Don’t be afraid to cannibalize your product to make an even better one.
Can I make a prototype quickly and on the cheap?
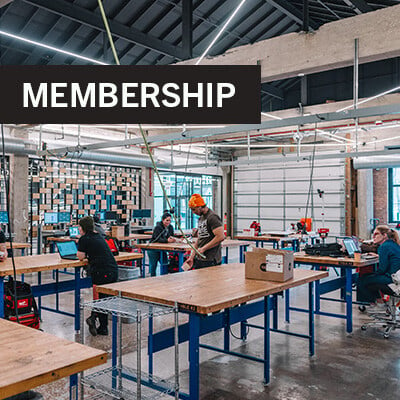
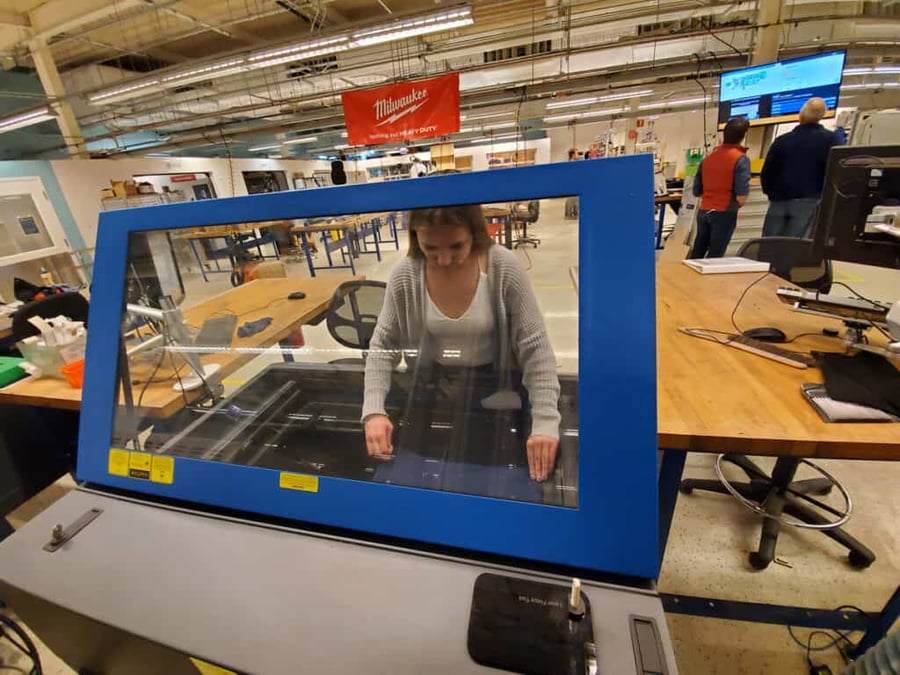
The cost to prototype has a very wide range depending on the product being developed and the materials required to put it together. Resourceful innovators can scavenge empty boxes and packages lying around the home or acquire discarded materials from stores to use cardboard, paper, wood, foils, simple plastics, or metals to make simple prototypes. Tooling and equipment is often the biggest issue for innovators – working with metal for example, might require metal bending, welding, and machining tools. Prototyping can be done with 3D printers in a variety of plastics, but the same issue exists – access to the type of equipment and resources you need. Maker spaces and innovation centers such as mHUB often provide membership options that can provide this access. For example, mHUB has 11 prototyping labs and various membership options.
Who should be involved in the iterative prototyping process?
When you’re just starting out, you might be the only product developer working on your project. But as you take your concept from idea to prototype, you might find that you need an electrical engineer to help you design your PCB (printed circuit board), a materials engineer that can help you understand which plastics, metals, or other materials might be best suited for your hardtech, or a mechanical engineer that can help you understand how multiple components can fit / work together. You might bring in an industrial designer that understands how user experience affects the hardtech design, and they may help you create a product design that attracts your target customer and provides them with the highest quality experience. There are a number of specialists that you might bring in, depending on the tech space your product exists within.
How to Find Talent
In the early stages of prototyping, you’ll most likely want to hire experts on a contract / consulting basis. You can find talent in a number of ways. In addition to looking for engineering contractors through job boards, LinkedIn groups, or through recruiting specialists, you can investigate innovation ecosystems or co-working spaces like mHUB that have a member base of talented engineers and business strategists that can be hired onto projects. To get a better understanding of the roles your hardtech startup will need to hire, read more about these key roles and when they need to be brought into your project. Prior to your product launch, you might also want to learn more about how to hire a contract manufacturer. As a startup founder, you might feel pressure to learn how to do everything before bringing on additional talent, but time is also a precious resource. Decide what you need to learn and the areas you are willing to outsource.
CONCLUSION
Iterative product development presents an opportunity to prove your concepts, get early prototypes into your hands, and instigate momentum with potential investors and customers. Employing an iterative approach enables entrepreneurs to get creative in the rapid prototyping process, fail quickly and learn fast. If you have questions about rapid prototyping and how to start the iterative process of commercializing your hardtech solution, reach out or visit mHUB to learn how you can gain access to an entrepreneurial network that can support you through your startup journey.
Learn how you can become a member of the mHUB HardTech Innovation Center.